Wage Slave
Wage Slave reaches one of the three, Safe House. There is no build-for choice to make on this character, so the only question is whether you hit that line's numbers or fall back to a line built around another person. Endings that need people has the alternative.Student
Student is the only character who reaches two of the three, Safe House and Doomsday Greenhouse. They overlap in nothing: one is barriers, devices and power, the other is 24 pot cells with light and heat. Committing to one costs you the other, so choose before the money goes anywhere.Warehouse Manager
Warehouse Manager reaches one of the three, Iron Barrel Hub. There is no build-for choice to make on this character, so the only question is whether you hit that line's numbers or fall back to a line built around another person. Endings that need people has the alternative.Open the endings list Every ending with the characters who reach it, how many requirements are its own and whether it can be lost, in one list. This opens on Safe House, the only one of the three that more than one character reaches.
| Ending | Who reaches it | What is counted | The number |
|---|---|---|---|
| Safe House | Wage Slave, Student | Door and window durability, three defence devices, power held | See below |
| Iron Barrel Hub | Warehouse Manager | Stockpiled Satiety, items and storage furniture | 1,200 / 180 / 8 |
| Doomsday Greenhouse | Student | Pot cells, with light and heat on them | 24 cells |
No character reaches all three: the Wage Slave has only Safe House, and the Warehouse Manager has only Iron Barrel Hub. So the first thing to settle is not which ending you want but which one your character’s story contains; every ending, and how the game decides which one you get has the full table.
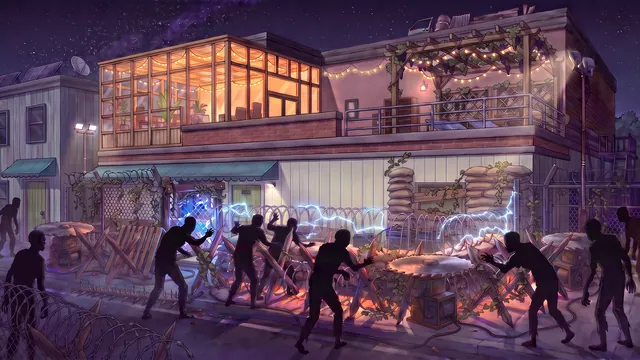
Safe House: the whole defence, not just the door
The shelter target carries more numbers than the other two put together: a door, a window, three device counts and a power reserve with a date range on it.
| Requirement | The number | What reaches it |
|---|---|---|
| Door durability | 2000 | Titanium Door (2000) |
| Window durability | 1500 | Bulletproof Window (1500) |
| Spike Barrier | 4 | Placed on the defence line |
| Electric Trap | 4 | Placed on the defence line |
| Mechanical Chainsaw | 4 | Placed on the defence line |
| Power held in reserve | 80% | Every day from 60 to 69 |
The door and window numbers are the top tier and nothing below it. 2000 durability is exactly what Titanium Door Package Furniture Packages 3000 g 2×2 cells Keeps indefinitely has, and 1500 is exactly Bulletproof Window Package Furniture Packages 1500 g 2×2 cells Keeps indefinitely . These are the same two numbers the game’s own preparation scorecard treats as good, 2000 and 1500, so a house that scored well on the prep checklist is already halfway here. What those barriers are really worth is a separate question, and the answer is that the top tier is worth more than its printed durability suggests.
The device counts are per device, not shared between them. The line counts 4 × Spike Barrier, 4 × Electric Trap, 4 × Mechanical Chainsaw separately, so 12 pieces have to be placed and kept placed, 4 of each, and a house with 4 of one and none of the others clears nothing. 2 of them draw power while they fight, Electric Trap and Mechanical Chainsaw, which feeds straight into the next requirement.
The power window is 10 days long, and it closes before the check. From day 60 through day 69 the house has to keep at least 80% of its stored power. That window opens 11 days before the check on day 71 and ends 2 days before it, so this is the one target on the page you cannot fix late: a battery bought on day 70 has missed it.
What makes the window hard is not the weather. Only 1 of the run’s 7 cold days and 1 of its 13 dark days fall inside it, day 60 and day 61. What falls inside it is a horde: Major Zombie Horde runs days 61 to 66, entirely within the window, so the devices are drawing hardest over exactly the days the reserve is being measured. Powering the house has what generates and what stores; the forecast has the light day by day.
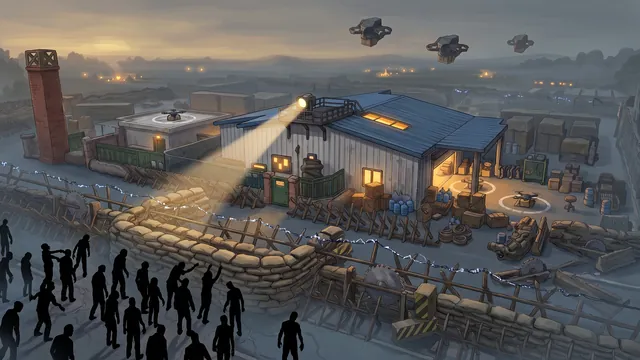
Iron Barrel Hub: three counts, and the Satiety is the easy one
| Measured | Satiety | Items | Storage furniture |
|---|---|---|---|
| Stocking Up | 200 | 30 | 2 |
| Systematic Stockpiling | 500 | 80 | 4 |
| Full Storage - Phase 2 | 900 | 140 | 6 |
| Iron Barrel Hub ending | 1,200 | 180 | 8 |
The run’s own objectives stop at Full Storage - Phase 2, and the ending is not far past it: 1,200 Satiety is 1.33× the 900 that objective asks for. In days of food that is about 25 days’ worth sitting untouched, on top of everything the run has already eaten.
The other two columns move by less again, and they are the ones people miss. 180 items against 140, and 8 pieces of storage against 6. The storage count is furniture you have to buy and place, not a number that rises on its own, and it is the only one of the three that money alone cannot rush past a shortage of wall space. The supplies tool sorts by Satiety per dollar, which is the column that gets the first number cheaply; the equipment tool has the storage.

Doomsday Greenhouse: a room of pots, lit and heated
The greenhouse line counts pot cells, and it wants 24 of them, exactly the largest planting objective the run sets, A Tide of Green. It also counts 2 light and 2 heat on them, which is what turns a room of pots into a greenhouse.
| Objective | Pot cells |
|---|---|
| New Sprouts Unfurling | 1 |
| Rooftop Garden Beds | 6 |
| Underground Mushroom Room | 6 |
| Greenhouse Phase Two | 18 |
| A Tide of Green | 24 |
| Doomsday Greenhouse ending | 24 |
24 cells is a room given over to it. The cheapest rate on the shelf is $10.00 a cell, and 3 planters share it, so 24 cells costs $240 at best, before light, heat or seeds. Buy the widest of them: Standard Large Flowerpot Supply Box Furniture Packages 3000 g 3×3 cells Keeps indefinitely holds 4 cells for the same money per cell, so the target is 6 pieces of furniture rather than 24. Which planter to buy covers why the cheapest cell is not always the right one, and which room to use covers where 24 cells can actually go.
What all three share
The measurement happens on day 71 and the commitment closes on day 74, which leaves 3 days to choose between whatever lines are open. Building after the check does not open a line, so for the Satiety, the items, the storage and the pot cells, day 70 is the last useful day. The shelter line’s power reserve is the exception: it is measured across days 60 to 69, so it has to be in place 11 days earlier.
Opening a line is not the same as reaching the ending. The judgement is on day 87, and Enhanced Zombie Horde, days 75 to 85, sits between the commitment and the judgement on every one of them. Every ending, and how the game decides which one you get has that part.
What to do
- Check which of the three your character reaches before anything else. Wage Slave and Warehouse Manager have one each; only the Student has a choice to make.
- For Safe House, plan the power for days 60 to 69 first. It is the only target with a deadline earlier than the check, and Major Zombie Horde is inside it.
- For Safe House, buy the top-tier door and window rather than the tier below. The numbers are exact matches, so nothing else qualifies.
- For Iron Barrel Hub, watch the item and storage counts. The Satiety is only 1.33× the last objective you were already working towards.
- For Doomsday Greenhouse, commit the room by the halfway mark and buy the widest planter at the cheapest rate. 24 cells is not something you add in the last fortnight.
Quick reference
- Measured on day 71. Commitment closes day 74; judged day 87.
- Who reaches what: Safe House: Wage Slave, Student; Iron Barrel Hub: Warehouse Manager; Doomsday Greenhouse: Student.
- Safe House: door 2000, window 1500, 4 Spike Barrier, 4 Electric Trap, 4 Mechanical Chainsaw, and 80% power held days 60 to 69.
- Iron Barrel Hub: 1,200 Satiety, 180 items, 8 storage furniture.
- Doomsday Greenhouse: 24 pot cells with 2 light and 2 heat.