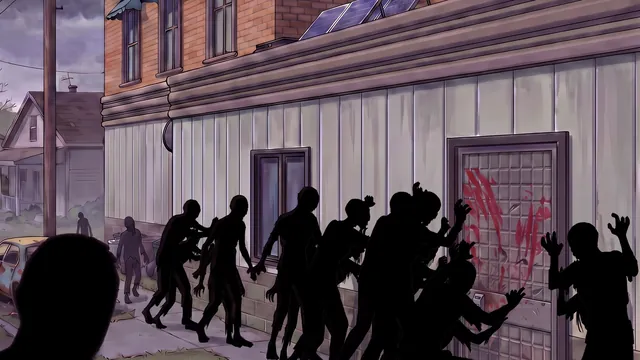
Survival Log guides, stage by stage
Each guide answers one question a run puts to you, gives a default choice and the numbers behind it. Start at the stage you are in. Everything is checked against the 9/2 Update (version 1.0.15511).
Before a run The new-run screens
The character, the settings and the talents, chosen before the clock starts.
 How a Survival Log run works, start to finish What actually happens across a Survival Log run?
  Which character to pick, and what each one starts with Which character should I play, and how do I unlock the others?
  Which talents to buy, and what the tree really costs Which talents should I buy first?
  Where Planning Points come from, and what a Time Loop costs How do I earn Planning Points, and should I spend them rewinding?
  What do the difficulty settings actually change? Which difficulty settings should I change?
 The prep window The Day Before Disaster
Where to go and what to buy in the hours before the outbreak.
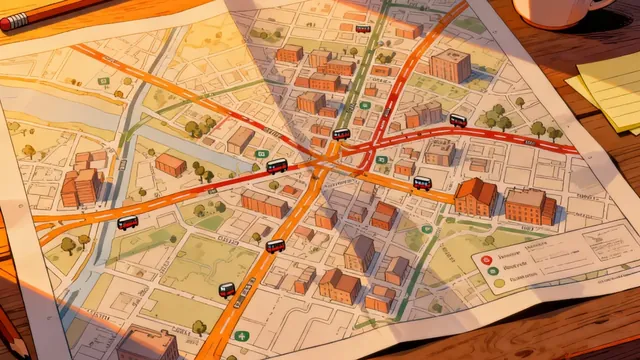 The ten-hour prep window: where to go and what to buy What should I do with the ten hours before the outbreak?
 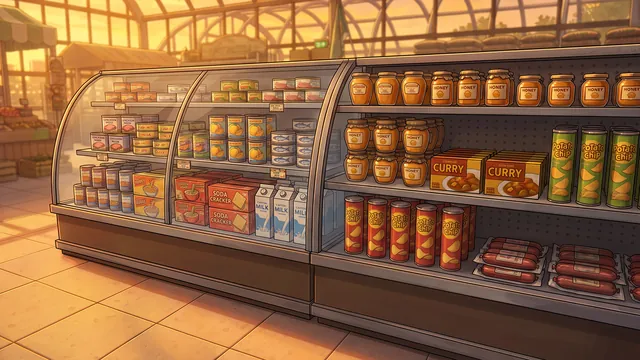 Feeding one person: what to buy and what to carry Which food should I buy, and how much of it?
 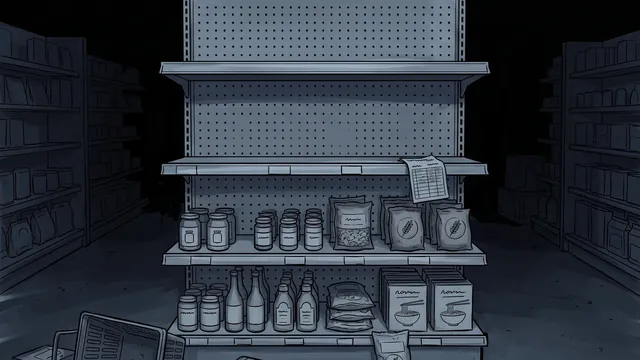 What you are really buying: every shelf, discount and delivery Which shop should I buy from, and what am I really getting for the money?
 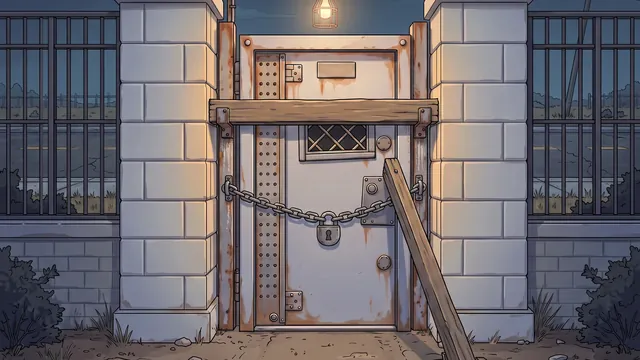 What counts as prepared: the targets the game sets How much do I need before the outbreak?
 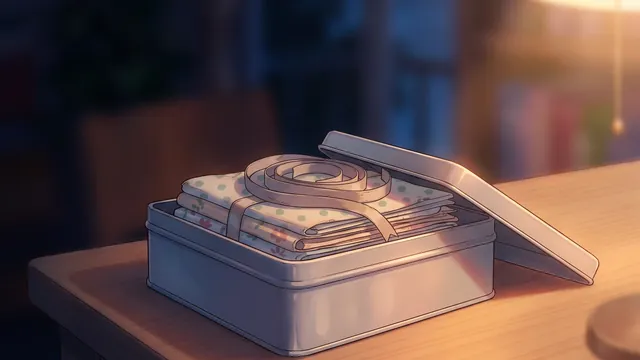 What a supply is worth: price, trade, fuel and what it rots into What is this item actually worth, and to whom?
 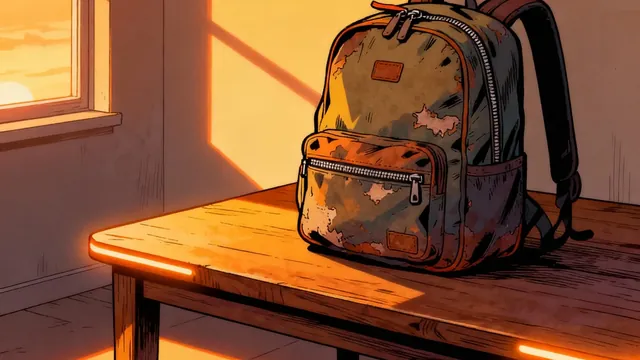 Carry weight against bag cells: which limit stops you first Which runs out first when I pack, the weight or the cells?
 The first days Living off the stockpile
The stats, spoilage, the first horde and the first trips out.
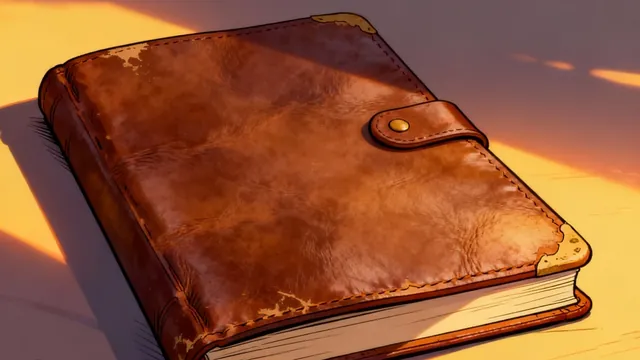 The five survival stats and what drains them What do the five survival stats do and what happens when one runs low?
  Keeping Morale up when the food runs the same Why does my Morale keep falling and how do I raise it?
 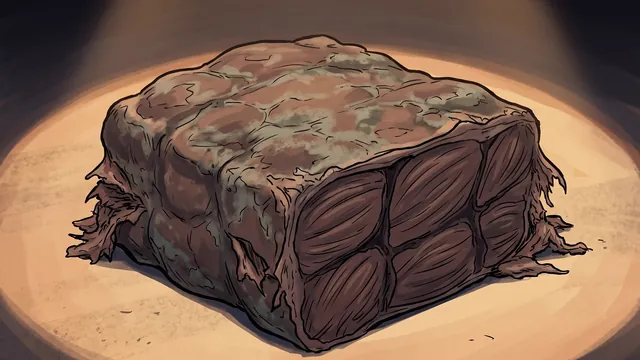 Spoilage, and what eating expired food does to you How does food spoilage work, and is expired food safe to eat?
 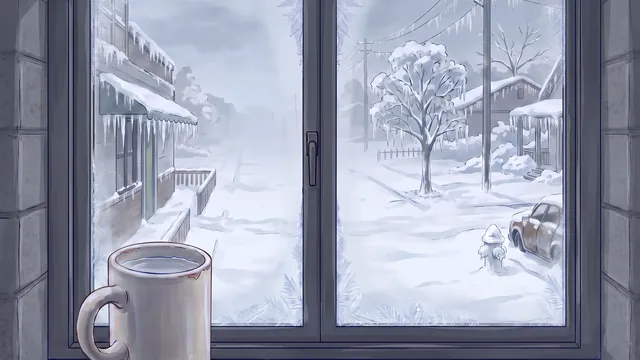 What comes through the door, and what stops it What am I defending against, and which defences are worth it?
 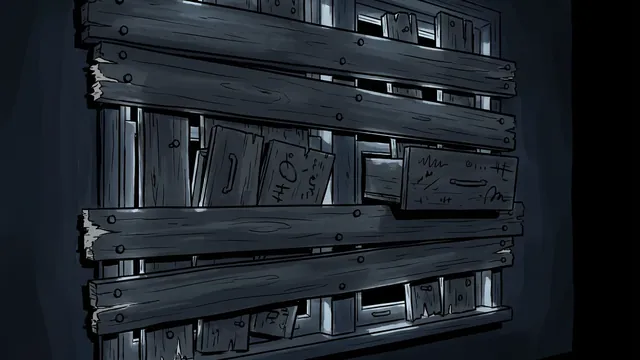 Doors and windows: what the printed hit points leave out Which door and window should I fit?
 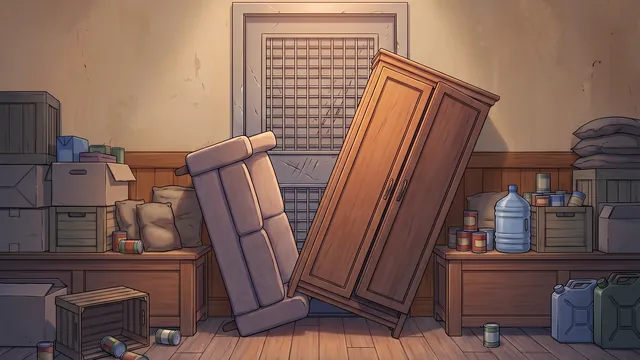 What defending a wave pays, and how to be paid more What do I get for beating a wave, and can I make one pay more?
 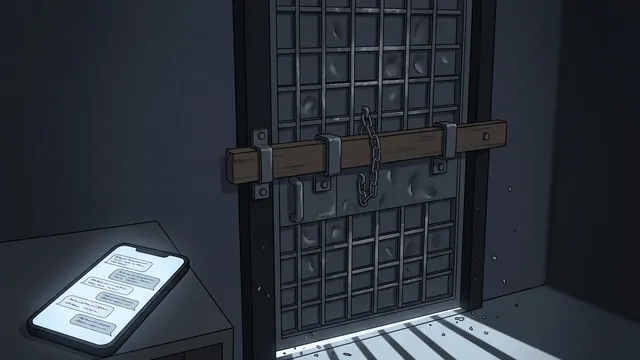 What the night asks you: events, answers and what they cost What are these pop-ups, and how do I answer them?
 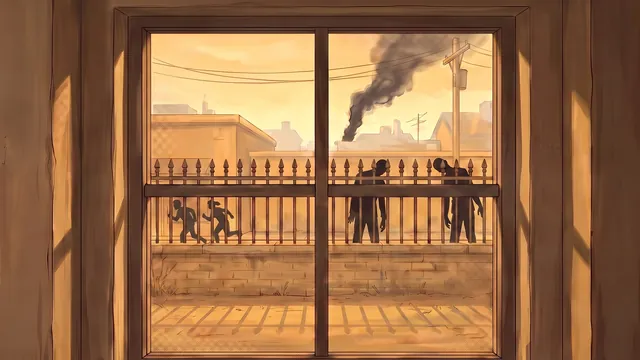 Where to scavenge, and what each place actually holds Which location should I scavenge, and what will I find there?
 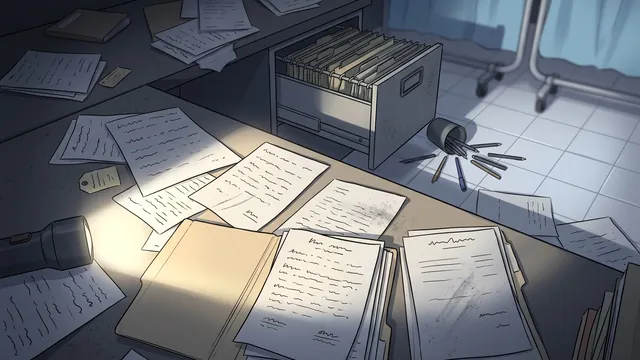 Exposure: the timer on every scavenging trip What is Exposure and how long can I stay in a location?
 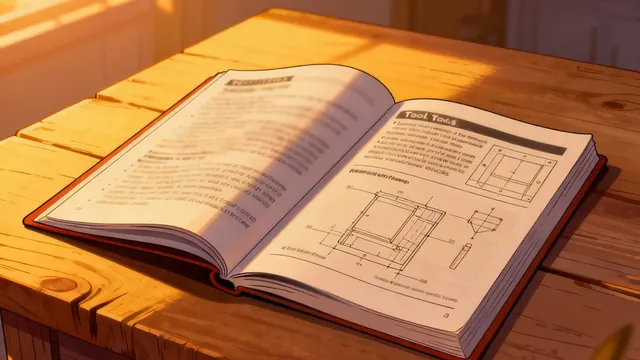 Which skill to level first, and what each level really gives Which skill should I level first?
 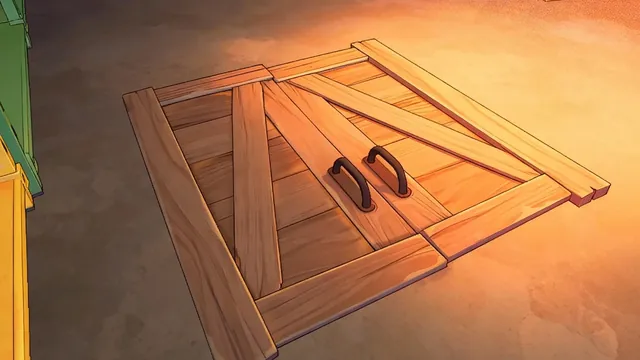 Which room to use for what: light, cold, spoilage and space Which room should I store food in, and which should I plant in?
 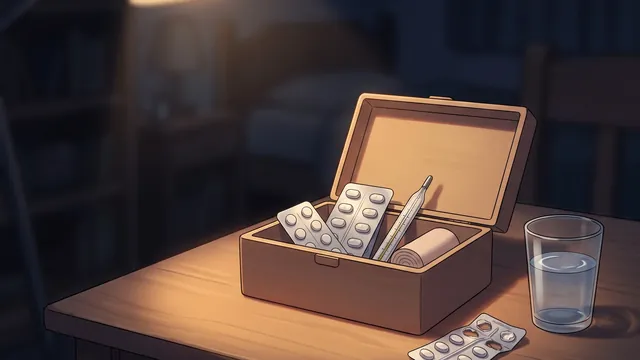 When you are sick: what each illness costs and what cures it I am sick. What does it cost, what cures it, and which meds should I stock?
 Running the house Until the ending check on day 71
Cooking, farming, trapping, power, rooms, defence and trade.
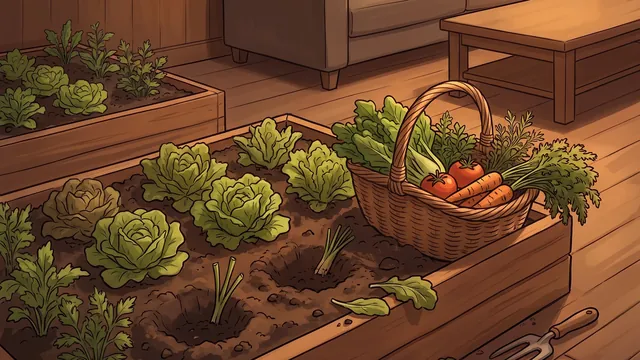 Cook, trap or farm: which to build first Should I invest in cooking, trapping or farming first?
 ![[Main Quest] Cook a Hot Meal](/art/1301_g.webp) How cooking works, and what decides the quality How does cooking quality work and how do I get Perfect dishes?
How cooking works, and what decides the quality How does cooking quality work and how do I get Perfect dishes? ![[Main Quest] Cook a Hot Meal](/art/1301_w.webp) What a dish is worth: the ingredient grade nobody mentions Does it matter which ingredients I cook with?
What a dish is worth: the ingredient grade nobody mentions Does it matter which ingredients I cook with? 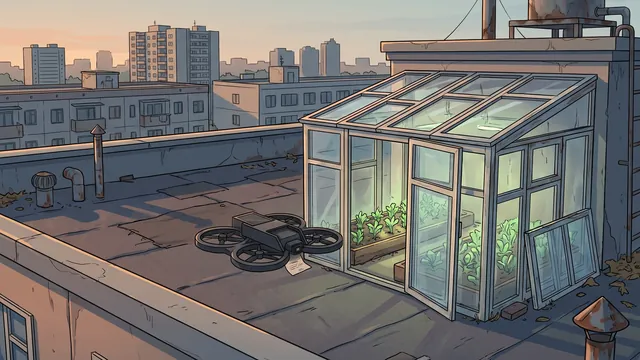 What to plant, and what each pot is worth Which crops should I plant, and how long do they take?
 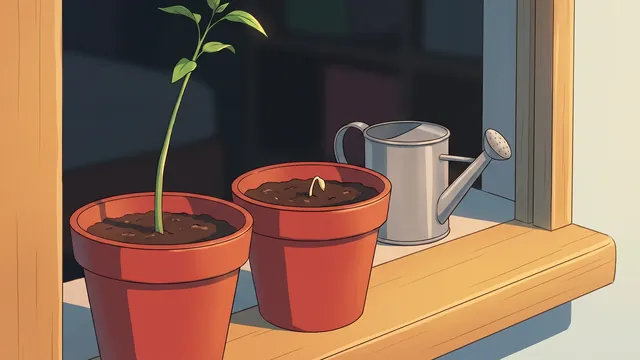 Which planter to buy, and what each one changes Which planter should I buy?
 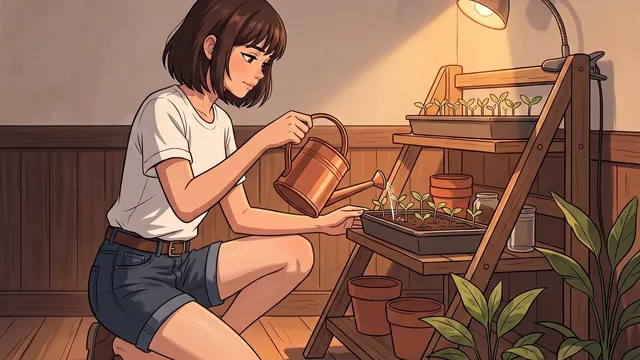 How growing works: light, cold, anomalies and the ripe window How does growing actually work, and what makes a harvest bigger?
 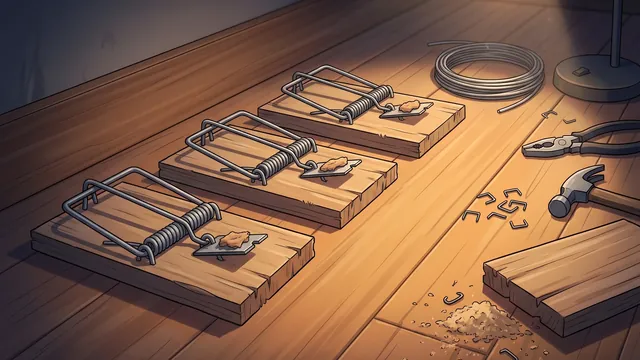 Where to set every trap, and what it catches Which trap should I set, where should I put it, and what do I bait it with?
 ![[Main Quest] Assemble Solar Panels](/art/e40421.webp) Powering the house: what to build and what to burn How do I power my base, and what should I burn for fuel?
Powering the house: what to build and what to burn How do I power my base, and what should I burn for fuel? 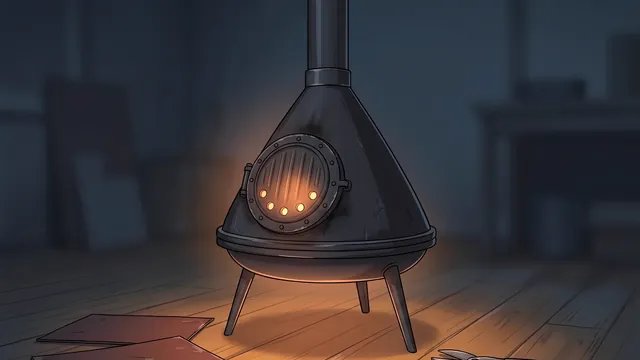 Keeping warm: cold waves, rooms, heaters and tiers How does warmth work, and what do I need to get through a cold wave?
  The forecast is fixed: every dark day and cold snap What weather is coming, and what should I plant before it?
 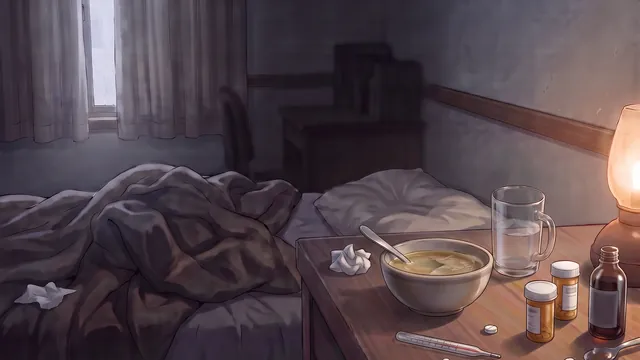 The outbreak on day 51, and the rats that make it worse What is the day 51 outbreak, and how do I stop it getting worse?
 ![[Main Quest] Supply Exchange](/art/e30021.webp) The stranger economy: what it costs to keep other people alive What does supporting survivors cost, and what does a trade actually get me?
The stranger economy: what it costs to keep other people alive What does supporting survivors cost, and what does a trade actually get me? 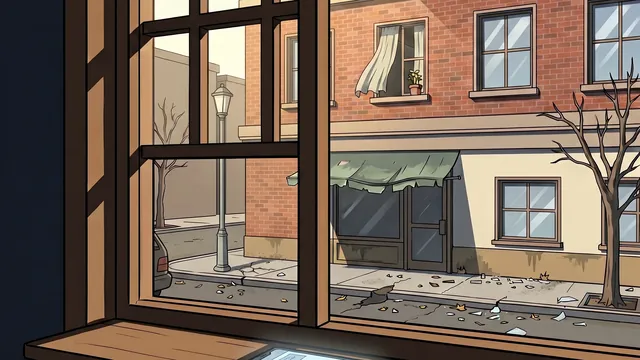 The phone: everyone who trades with you, and what they run out of Who messages me, what can they trade, and what do they want?
 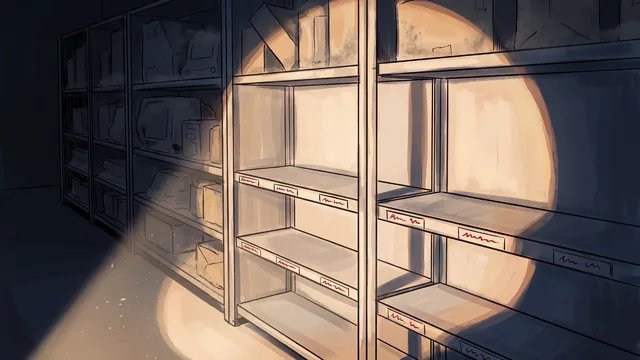 What a location restocks, and how soon it is worth going back How soon is it worth searching the same place again?
 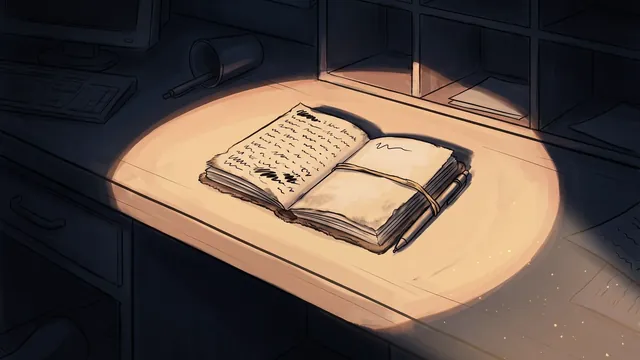 What the codex counts, and what filling it pays you What does the codex pay me, and which milestones are worth going out of my way for?
 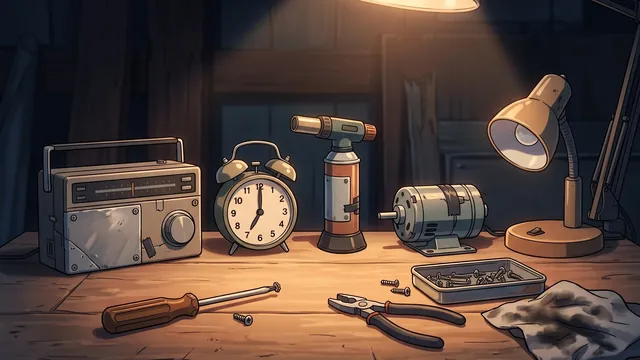 What to craft at the workbench, and what the scrap is for What should I craft at the workbench, and what are the materials for?
 Reaching an ending Days 71 to 100
The endings, their targets, the deadline and the achievements.
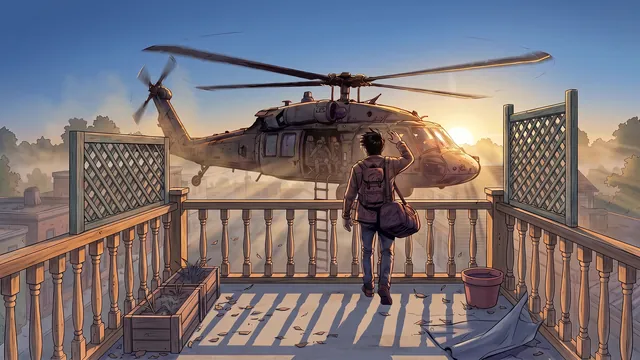 Every ending, and how the game decides which one you get What are the endings and how do I get the one I want?
  The three endings you build for, and the exact targets What do I have to build to keep an ending open?
  The endings that need someone else, and how to keep them open How do I save the neighbour, and what do the people endings need?
  Which achievements are worth chasing, and when to start Which achievements do I need to plan for?
  The last thirty days: what is left to do after day 71 The story seems over. What am I doing for the last thirty days?
 Endless mode After day 100
What the tiers after day 100 add, and what they pay.