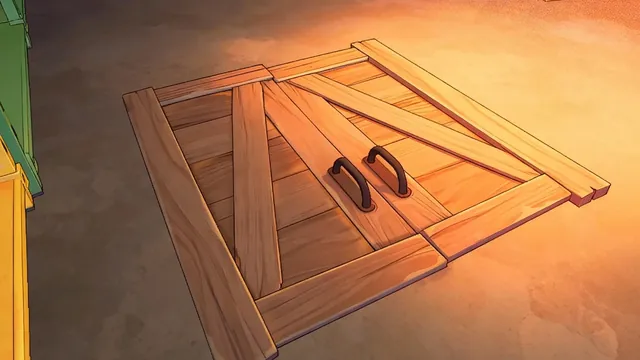
No money for a cold store
The Cold Storage is already worth 5× and the Basement 2×, both for nothing. Fill those before you spend anything on cold.
Money and spare power
A Fridge is $40 and 2 power for the same 5× the Cold Storage gives free. It is worth buying because it moves that multiplier into a room that does not have it, not because it is stronger.
Out of places to put things
Count places, not floor. The house has 341 across 8 rooms and a piece of furniture needs a place of its own kind. Warehouse Interior carries 15 Large places, more than any other room, so anything big ends up there whatever its light is like.
Open the equipment list Every piece of furniture with the kind of place it needs, what it costs and what it draws. This opens on the Fridge, the cheapest way to buy the 5× the Cold Storage gives away.
Two lists, three shared names
| Area | Light it passes | Temperature | Food keeps | Heated by appliances | On the map list |
|---|---|---|---|---|---|
| Cold Storage | 0.5× | -2 | 5.0× | no | yes, 8 places |
| Basement | 0× | +2 | 2.0× | yes | yes, 38 places |
| Interior | 0.5× | +1 | 1.0× | yes | no |
| Sunroom | 1× | +1 | 1.0× | yes | yes, 9 places |
| Terrace | 1× | 0 | 0.5× | no | no |
Sunroom, Cold Storage, Basement appear on both lists, so for those three the conditions and the places can be read together. Interior and Terrace do not appear on the map list at all, and nothing in the data says which of the 8 map rooms they cover. So a crop can want an area the slot table has no row for. Take the conditions from this table and the space from the one further down, and only join them on those 3 names.
Storing food
Shelf life is multiplied by the area, so the same tin is a different tin depending on the shelf it sits on.
| Area | Food keeps | Days it lasts |
|---|---|---|
| Cold Storage | 5.0× | 450 d |
| Basement | 2.0× | 180 d |
| Interior | 1.0× | 90 d |
| Sunroom | 1.0× | 90 d |
| Terrace | 0.5× | 45 d |
Use the Cold Storage before you buy a cold store. It gives the same 5× that the cheapest one does, without the $40 or the 2 power it draws.
The Basement is the fallback. At 2× it is worth using for anything that will not fit in the Cold Storage, and it costs nothing either.
Never leave food in the Terrace. It is the only area that spoils food faster than normal, at 0.5×. A 90-day item becomes 45 days there. See spoilage for what eating the result does to you.
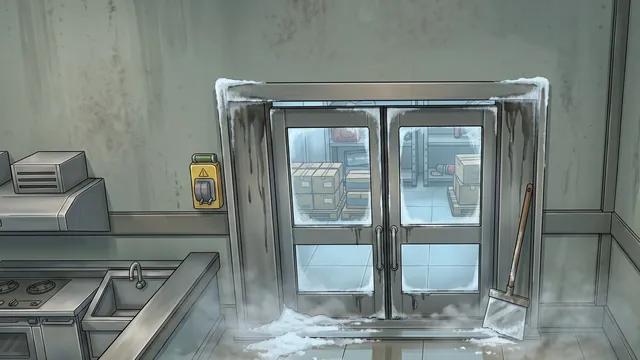
Planting
The area multiplies the weather’s light before a crop sees it, and only whole steps count. That is harsher than it sounds, because a multiplier below one rounds a middling day down to nothing.
| Area | Clear | Cloudy | Rainy | Moderate Cold | Severe Cold | Heavy Rain | Continuous Rain |
|---|---|---|---|---|---|---|---|
| Interior | 1 | 0 | 0 | 0 | 0 | 0 | 0 |
| Sunroom | 2 | 1 | 1 | 1 | 1 | 0 | 0 |
| Terrace | 2 | 1 | 1 | 1 | 1 | 0 | 0 |
| Cold Storage | 1 | 0 | 0 | 0 | 0 | 0 | 0 |
| Basement | 0 | 0 | 0 | 0 | 0 | 0 | 0 |
Read that table by the clock rather than by the column, because the schedule does not spend equal time under each weather.
| Area | Any light at all | Full light |
|---|---|---|
| Interior | 31% | 0% |
| Sunroom | 88% | 31% |
| Terrace | 88% | 31% |
| Cold Storage | 31% | 0% |
| Basement | 0% | 0% |
Only the Sunroom and the Terrace grow anything but mushrooms. They are the only areas that pass light unchanged, they hold at least some light for 88% of the schedule’s hours, and they are the only places the 17 full light crops ever get what they need, for 31% of the hours and only under Clear.
The Interior and the Cold Storage are not dim, they are dark most of the time. At 0.5× they round every weather except Clear down to nothing, so they reach even one step of light for 31% of the hours and full light for 0%. The 8 crops that want one step of light are not reliably growable there.
The Basement sits at no light whatever the weather. That makes it useless for 25 of the crops and the obvious home for the 9 that need none, which is every mushroom in the game. Those 9 grow anywhere; the point of the Basement is that nothing else does. It is also 2× on shelf life, so it does two jobs at once.
Which day you are looking at matters as much as which area: the forecast is fixed and names every day the light goes.
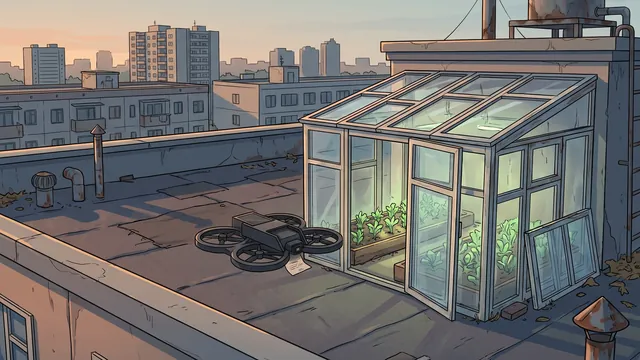
Warmth
| Area | Temperature | Heated by appliances | Food keeps |
|---|---|---|---|
| Basement | +2 | yes | 2.0× |
| Interior | +1 | yes | 1.0× |
| Sunroom | +1 | yes | 1.0× |
| Terrace | 0 | no | 0.5× |
| Cold Storage | -2 | no | 5.0× |
The Basement is the warmest area at +2 and appliances heat it. The Cold Storage runs at -2 and appliance heat does not reach it, so you cannot accidentally warm it up by putting a generator in there.
That last fact is worth having and it is not the reason the Cold Storage keeps food. The fourth column says so. The Basement is the warmest area in the game, is heated by appliances, and still keeps food 2× longer than normal; the Terrace is colder than the Basement and unheated, and is the worst keeper in the house at 0.5×. Spoilage is a rate the area carries on its own. Temperature is a separate number that decides what keeping warm costs you, not what your food does.
How much each room holds
Light and warmth decide what an area is good for. How much of it you can do there is the other list’s question, and the map answers it with a fixed number of places: 341 across 8 rooms, in 8 kinds, and a piece of furniture needs a place of its own kind.
| Room | Total | Small | Medium | Large | Wall-Hanging | Tabletop | Bed | Door | Window |
|---|---|---|---|---|---|---|---|---|---|
| 1st Floor | 106 | 29 | 28 | 9 | 9 | 23 | 2 | 2 | 4 |
| Warehouse Interior | 95 | 22 | 38 | 15 | 5 | 10 | 1 | 1 | 3 |
| Balcony | 48 | 9 | 28 | 11 | none | none | none | none | none |
| Basement | 38 | 8 | 17 | 8 | 2 | 3 | none | none | none |
| 2nd Floor | 27 | 6 | 10 | 6 | 2 | 2 | 1 | none | none |
| Outdoors | 10 | 4 | 6 | none | none | none | none | none | none |
| Sunroom | 9 | 3 | 3 | 2 | 1 | none | none | none | none |
| Cold Storage | 8 | none | 6 | 2 | none | none | none | none | none |
Three things that table does not say on its face.
Door and Window places are never empty. Those are the only 2 kinds the game marks as replacing what is already there rather than standing beside it, so the 10 of them in the house are already filled on day one. Buying a better one swaps the fitting out. The other 6 kinds are places you add to. See doors and windows.
592 more places sit outside every room. The Tower Defense Device kind is not one of the 8 the map rooms are divided into. It belongs to the defence ring, and its 592 places are on no room’s row, which is why the table above has no column for it. Nothing in the data attaches a level or a stage to any part of that count: it is one flat number.
Places are not capacity. The Cold Storage has the fewest places of any room at 8, but every one of them takes the two largest kinds of furniture, which is not true of any other room.
| Room | Places | Cells it can hold |
|---|---|---|
| Warehouse Interior | 95 | 8,052 |
| 1st Floor | 106 | 6,024 |
| Balcony | 48 | 5,664 |
| Basement | 38 | 3,768 |
| 2nd Floor | 27 | 2,496 |
| Cold Storage | 8 | 1,080 |
| Outdoors | 10 | 864 |
| Sunroom | 9 | 828 |
So the Cold Storage is last of 8 on places and 6th on cells: its 8 places hold 1,080 cells, more than the Sunroom manages with 9. The 5× runs out later than a count of places suggests.
What to do
- Store food in the Cold Storage first and the Basement second. Between them you get 5× and 2× shelf life for nothing.
- Do not buy a cold store until those are full. It buys the same 5× for $40 and 2 power, and its real use is putting that multiplier somewhere that does not have it.
- Keep nothing in the Terrace. It is the only area that costs you shelf life.
- Plant in the Sunroom and the Terrace and nowhere else. Every other area is at one step of light for at most 31% of the schedule.
- Fill the Basement with mushrooms. It is the only area where nothing else will grow, and it is 2× on shelf life while it does it.
- Plan furniture by places of the right kind, not by floor. The equipment list has the kind every piece needs.
Quick reference
- Two lists: 5 condition areas, 8 map rooms, sharing 3 names.
- Best store: Cold Storage, 5× shelf life, no power. Second: Basement, 2×.
- Never store in the Terrace: 0.5×.
- Growable: only the Sunroom and the Terrace, at some light for 88% of hours and full light for 31%.
- Basement: no light ever, 2× shelf life, mushrooms only.
- Warmest: Basement at +2, and it is a good keeper too. Warmth does not set spoilage.
- Places: 341 in 8 rooms plus 592 in the defence ring outside them.